TheRoundup is reader-supported. We may earn a commission when you make a purchase via links on this site, at no cost to you.
All products are reviewed in accordance with our Review Methodology.
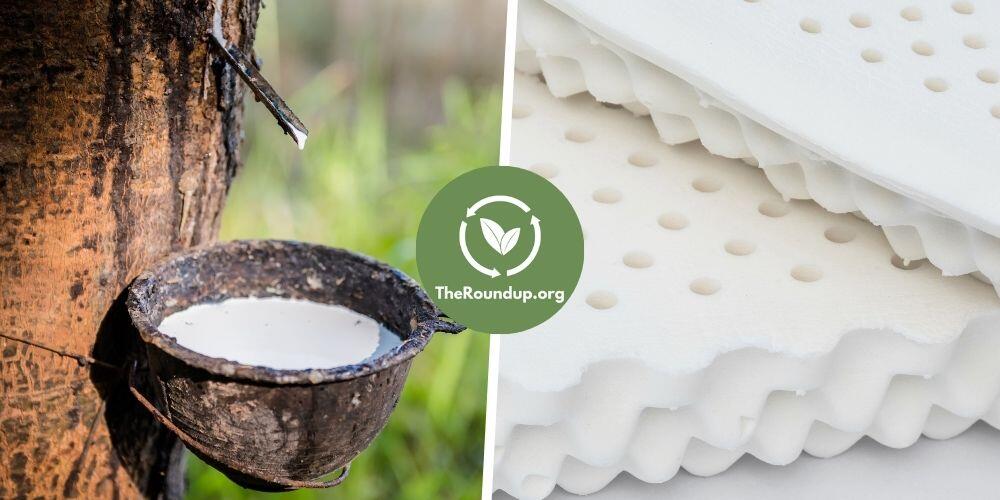
A sustainably made air mattress is an excellent solution if you like to go camping or are simply looking for a cost-effective spare room sleep solution.
Most air mattresses come with a repair kit to fix minor leaks. But what happens if the leak occurs on the fabric or flocked side?
We should always do our best to repair and reuse whenever possible. So today, I'll show you how to repair the fabric side of an air mattress quickly and easily.
In fact, the method is almost identical to the method for the plastic side. There is just one crucial extra step.
Read on to discover this step and details of my favorite methods for repairing air mattresses.
Contents
Later I’ll talk you through the best air mattress methods I’ve discovered. But first, let's get the basics right.
Whatever repair method you choose, the way you prepare the air mattress for repair is always the same.

The easiest way to do this is by inflating the mattress.
Then, using a spray bottle, cover the surface with soapy water. You’ll see bubbles appearing where the leak is.
If you can’t find the leak this way, try lying on the mattress and moving around until you feel where the air is escaping.
Placing thin sheets of tissue paper on the mattress can also help locate leaks.
Once you have located the leak, mark it with a pen or pencil. This will help you find it again when you are ready to start your repair.
Repairing an air mattress when inflated can lead to poor seals and escaping air.
It can also lead to injury if you burst the air mattress during your repair attempt.
Always deflate an air mattress before attempting a repair.
Use a cloth and a mild eco-friendly dish soap solution to clean the area around the leak. This will help the adhesive to bond correctly with the mattress.
This is where extra work is needed if you’re repairing the fabric side of an air mattress.
Most repair methods won’t stick properly to the fabric side of an air mattress, so you need to remove the fabric from around the leak.
The best way to do this is to gently rub the area with soft sandpaper until the fabric has been removed. Then clean the area as mentioned above.
Now you’ve fully prepped the leak area and are ready to repair.
Below I’ll talk you through some of my favorite methods.
Most air mattresses come with a repair patch kit.
This is usually either patches and glue or self-adhesive patches.
Follow the manufacturer's instructions, and you’ll be inflated again in no time!
For just a few bucks, you can buy replacement air mattress repair patches off Amazon.
If you can’t find your repair patch kit or have misplaced it, don't worry, you can easily make your own patches from scrap vinyl products and suitable strong adhesive.
A DIY repair patch kit is a great way of repurposing something otherwise destined for the trash.
Things that make good DIY patches include a pool liner, a vinyl shower curtain, or at a push, an old bike inner tube.
How to use your DIY patches on air mattresses:
If the hole in your air mattress has two edges that need sticking back together (a knife puncture, for example) then superglue alone might be sufficient.
How to repair with just superglue:
This is a great temporary fix if you don't have any patches to hand. However, if the hole is larger than half an inch, you might want to try one of the other methods on this list.
Also, be careful that you don’t glue yourself to your air mattress when holding it in place. Gloves might be a good idea.
If you can’t get your hands on superglue, then another excellent option is Amazing Goop.
It’s a great all-purpose glue that you can use for various repairs.
The method for an Amazing Goop repair is the same as a superglue repair.
This option is not for the heavy-handed (if you’re careless the hot glue gun can cause more leaks by melting the thin plastic of the mattress). It works best on small holes and will usually only last a few weeks.
The method for a hot glue gun repair is the same as a superglue and Amazing Goop repair.
Duct tape is the swiss army knife of repair materials. You can pretty much fix anything with it. And that includes your air mattress.
How to use duct tape for an air mattress repair:
If you’re in a pinch, then this is a great temporary fix. Just be aware that over time the duct tape will start to lose its stickiness and need to be replaced.
This is a slightly more complicated method because you need a UV light source. But we all have one of those…right?!
How to use gel nail polish to repair an air mattress:
An air bed will look like it's lost air if there's been a temperature change. Cold weather makes an air mattress deflate slightly.
This can also happen an hour or two after first inflating. This is because the air is often hot as it goes into the air bed (from being passed quickly through the pump), and then it cools.
Also, if your air bed has a built-in pump, it might be faulty with a slow leak.
Bicycle repair kits are not designed for repairing air beds.
The rubber cement or self-adhesive patches in bicycle repair kits are excellent at bonding to rubber but not so great with vinyl air beds.
I have three tips to help avoid punctures:
Yes. Flex Tape works well for temporary fixes.
Yes. Gorilla Tape works well for temporary fixes.
Gorilla Glue can be substituted for superglue in any of the repair methods mentioned in this article.
If your air mattress is bulging, it’s probably overinflated. Let some air out. If the bulge doesn’t go away, you may have a leak.
The best way to store an air mattress is in a cool, dry place. Do not store your air mattress in direct sunlight or near any heat source.
When storing your air mattress for long periods of time, it’s a good idea to lightly dust it with talcum powder to keep the vinyl from sticking together.
When the air bed is firm to the touch, it’s time to stop inflating. If you overinflate your air bed, it will be uncomfortable to sleep on and more likely to develop leaks.
So there you have it…my favorite methods for fixing a leaking air bed!
I hope you’ve found this article helpful and that you now feel confident in repairing your air bed.
Happy fixing and inflating!
Do you use air beds? How do you stop an air mattress leak? Do you have any top tips or DIY repairs you swear by? Drop me a line and let me know.